
The “Cave” Problem: Most residential garages are lit by a single, sad 60-watt bulb connected to the garage door opener. It casts long shadows, makes it impossible to read a tape measure, and turns simple car maintenance into a frustration-filled ordeal.
Lighting is the single most impactful upgrade you can make to a workshop. It is cheaper than a new toolbox and more valuable than a new saw. When you can actually see what you are doing, your work quality improves, your safety increases, and the space becomes somewhere you actually want to spend time.
But garage lighting has changed. The days of humming, flickering fluorescent tubes that struggle in the cold are over. We are in the era of high-efficiency LEDs, hexagonal grids, and linkable fixtures. This guide will walk you through the physics of light (Kelvins and Lumens), the math of layout design, and the best hardware to buy right now.
Part 1: The Physics of Light (Don’t Skip This)
Before buying a single fixture, you need to understand three terms. If you get these wrong, your garage will look like a hospital operating room or a dim dungeon.
1. Lumens (Brightness)
Watts are no longer a measure of brightness; they measure energy used. Lumens measure raw light output.
Old School: A 100-watt incandescent bulb = 1,600 Lumens.
New School: A 4ft LED shop light = 4,000+ Lumens.
2. Kelvin Temperature (Color)
This measures the “whiteness” of the light.
3000K (Warm White): Yellowish. Great for living rooms, terrible for garages. Makes paint colors look muddy.
5000K (Daylight): The Goldilocks zone. Pure white. Perfect for reading measurements and detailing cars.
6500K (Cool White): Bluish. Very harsh. Often found in cheap shop lights. Can cause eye strain over long periods.
3. CRI (Color Rendering Index)
Rated 0-100. This measures how accurate colors look under the light. If you do auto detailing or wood staining, you need a high CRI (85+). Low CRI lights make red look like brown.
Part 2: The Math – How Many Lumens Do You Need?
Stop guessing. There is a formula for this. The Illuminating Engineering Society (IES) recommends specific light levels for different tasks.
The Garage Formula
General Parking & Storage:50 Lumens per Sq. Ft.
Workshop & Detailing:75-100 Lumens per Sq. Ft.
Example: The Standard 2-Car Garage
A typical 2-car garage is 20′ x 20′ (400 sq. ft.).
For Storage: 400 sq. ft. x 50 = 20,000 Lumens.
For Workshop: 400 sq. ft. x 100 = 40,000 Lumens.
If a standard 4ft LED fixture puts out 4,000 lumens, you need 10 fixtures for a high-end workshop setup. That sounds like a lot, but wait until you see the linking systems.
Part 3: The Hardware Options
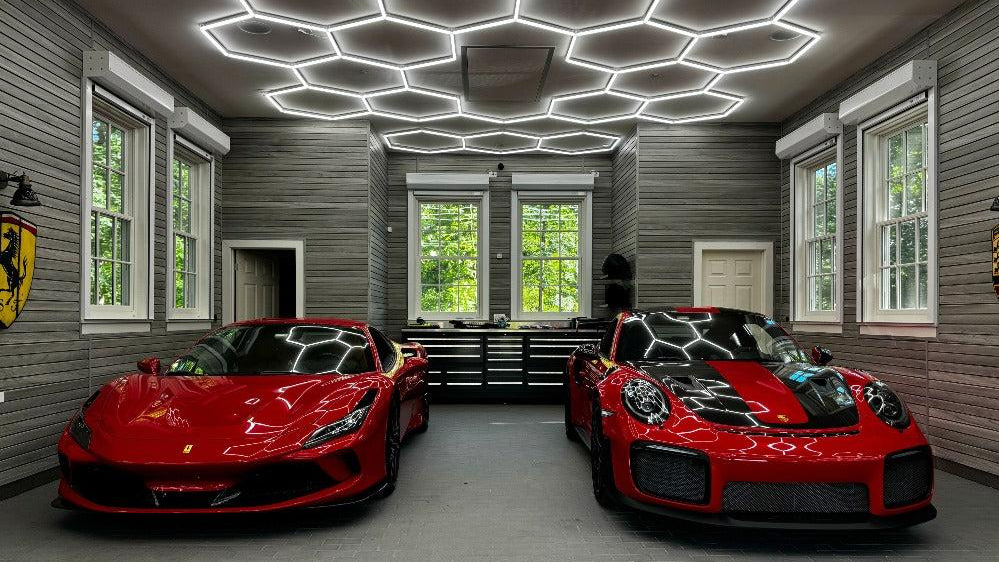
Option A: The “Instagram” Garage (Hexagon Grids)
You have seen these in every YouTuber’s garage. Hexagon lighting grids are not just for show; they provide incredible shadow reduction because light hits the object from 360 degrees.
Top Pick: Hexagon LED Garage Light Grid
These kits come as separate tubes and connectors that you assemble on the floor and lift to the ceiling. They are incredibly bright (often 60,000+ lumens for a full grid) and act as a centerpiece for the room.
• Brightness: Extreme (60,000+ Lumens)
• Install Difficulty: High (Lots of screws)
• Wow Factor: 10/10
Option B: The Practical Choice (Linkable 4ft/8ft LEDs)
This is what 90% of people should buy. These are lightweight strips that can be daisy-chained. You plug the first one into an outlet, and plug the second one into the first. No electrician needed.
Best Value: Barrina T5 or T8 LED Shop Lights (Pack of 6)
Barrina dominates this space for a reason. Their lights are cheap, reliable, and linkable. You can mount a row of 6 lights across your garage ceiling in about 30 minutes using the included clips. A 6-pack usually provides 25,000+ lumens. Check Price on Amazon
Option C: The “5-Minute” Fix (Deformable Bulbs)
If you rent, or if you refuse to drill holes in your ceiling, get a deformable “trilogy” light. These screw into a standard lightbulb socket but unfold into three large LED panels.
Quick Fix: Deformable LED Garage Light (Screw-in)
Instantly turns a 800-lumen socket into a 6,000-lumen supernova. The panels are adjustable so you can aim the light into corners. Check Price on Amazon
Part 4: Layout Strategy (Avoiding Shadows)
The biggest mistake people make is installing one giant light in the center of the room. When you stand at your workbench, your body blocks the light, casting a shadow exactly where you are working.
| Layout Type | Setup | Result |
|---|---|---|
| The Center Bomb | 1-2 bright lights in the middle. | Bad. Casts shadows on all walls/workbenches. |
| The Perimeter | Lights mounted 3 feet away from walls. | Good. Lights up the workbench, but center of room is dim. |
| The Grid (Recommended) | Rows of linkable lights spaced 4-5 feet apart. | Best. Even light everywhere. No shadows. |
The Garage Door Blocker: Remember that when your garage door is open, it slides up and covers the ceiling. Do not install lights above the garage door track zone. When the door opens, it will block them, rendering them useless. Move those lights to the side walls or angle them inward.
Part 5: Smart Upgrades (Motion & Switches)
You’re carrying a transmission; you don’t have a free hand to flip a light switch. Automation is key in a workshop.
1. Motion Sensors
Replace your standard wall switch with a Lutron Maestro Motion Sensor Switch. It sees you enter the garage and turns the lights on instantly. Set the timeout to 30 minutes so it doesn’t turn off while you are under a car. Shop Sensors
2. Smart Plugs for Daisy Chains
If you use plug-in linkable lights (like the Barrinas), plug the main cord into a smart plug. You can then yell “Alexa, turn on the shop” as you walk out the door.
Step-by-Step: The Ultimate 2-Car Garage Install
Ready to buy? Here is the exact shopping list for a pro-level setup.
- Buy 12x 4ft Linkable LED Lights (5000K). (Two 6-packs).
- Create 3 Rows:
- Row 1: Above the workbench area (approx 3 ft from the back wall).
- Row 2: Center of the room (between the cars).
- Row 3: Near the garage door (but not blocked by it).
- Mounting: Use the screw clips into studs/drywall anchors.
- Wiring: Daisy chain each row together. Run an extension cord from the end of the rows to your single ceiling outlet. Use cable management clips (often included) to keep wires tight to the ceiling.
Final Verdict
Don’t overthink it. 5000K Color Temperature and 50+ Lumens per square foot. If you want the easiest install with the best results, grab two packs of the Barrina T5 Linkable Lights. The first time you flip that switch and see your garage fully illuminated, you’ll wonder how you ever worked in the dark.