
Your garage is only as functional as your workbench. The tool chest, the overhead rack, the LED shop lights — those are all supporting players. The bench is where the actual work happens.
Most garage owners treat it as an afterthought. They drag in an old door on sawhorses, or grab whatever $99 folding table catches their eye, then wonder six months later why working in the garage feels uncomfortable and disorganized. This guide is for people who’d rather get it right the first time — whether you’re buying a steel frame bench, building one from lumber, or converting a wall section into a fold-down shop bench.
Disclosure: As an Amazon Associate, Garage Tool Authority earns from qualifying purchases at no additional cost to you.
Why Your Workbench Matters More Than You Think
You can do a lot of garage work without a single power tool. You can’t do much without a flat, stable surface.
Think about what actually happens on a workbench in a home garage: oil changes, brake jobs, small engine repair, woodworking, assembly work, electrical repairs, hobby projects. Every one of those tasks benefits from a surface that doesn’t wobble, sits at the right height, has decent light overhead, and has storage close at hand.
A bad bench makes every job harder. A good one makes you want to go out there and use it.
Size: How Long, Deep, and Tall Should Your Bench Be?
Before you buy or build anything, figure out where the bench is going and what dimensions actually work in that space.
Length: For most two-car garages, 6 to 8 feet along one wall is the right range. Long enough to spread out a project; short enough to not eat all your wall space. Single-car garages are better served by 4 to 6 feet. Anything shorter than 4 feet feels cramped the moment you set anything larger than a small engine on it.
Depth: 24 to 30 inches is standard. Go shallower and you’re reaching over the back edge constantly; go deeper and things disappear at the back. 24 inches works in tight spaces; 30 is better for assembly or woodworking.
Height: This is where most people go wrong. Standard height is 34 to 36 inches — calibrated for an average-height person doing light assembly. If you’re 6’2″, you want 38 to 40 inches. If you do detail work like electronics or carburetors, higher is better since you don’t want to hunch. For heavy hammering or vise work, a lower surface gives more leverage.
A practical method: stand normally with your arms hanging relaxed. Measure from the floor to your wrist. That’s your starting height for general work.
Four Types of Garage Workbenches
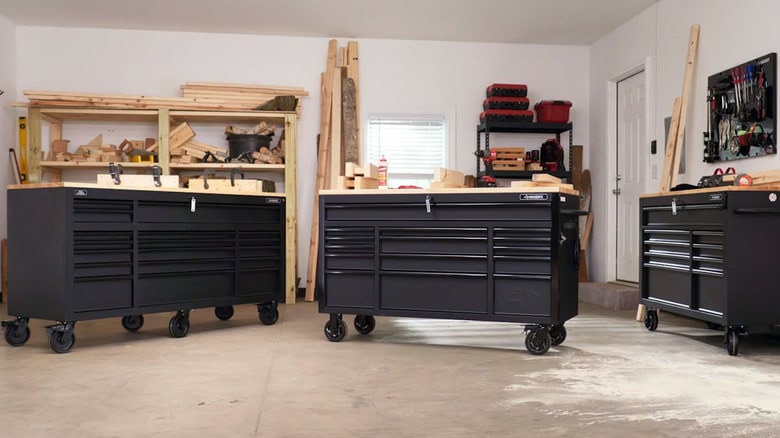
Steel Frame Workbenches
Pre-engineered metal frames — welded or bolted — with a wood, laminate, or steel top. They come in kit form or fully assembled, and they’re what most people end up with for good reason.
Fast to set up, usually strong, consistent height, often include a lower shelf. The catch: tops on budget models are thinner than product photos suggest (often ¾-inch OSB covered in hardboard, not real wood). Legs flex on cheaper units when you’re really working something in a vise.
What actually matters when you’re shopping: 14-gauge steel frame at minimum (12-gauge is better), leveling feet (garage floors are never flat), per-shelf weight capacity listed separately from the headline rating, and bench top thickness of at least 1.5 inches for anything involving a vise. Husky, Gladiator, Seville Classics, and Workpro all make solid entries in this category.
Budget: $150–$600 for a good 6-foot bench. Below $150, you’re typically buying a wobbler.
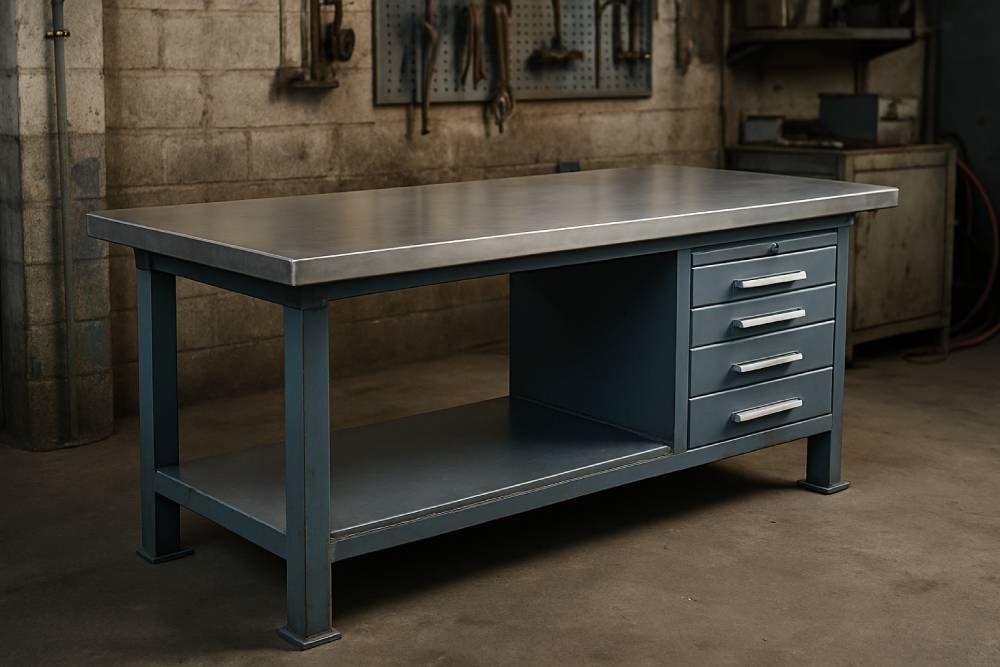
Heavy Duty / Shop-Grade Benches
Thicker steel, heavier welds, proper hardwood or laminate tops. Some include integrated power strips, pegboard back panels, or drawer systems. If you’re running a home shop for real — woodworking, metal fab, automotive restoration — this is the category to be in. Rousseau, Sjobergs, Grizzly. Expect $400–$1,200 for a quality option.
Wall-Mounted and Fold-Down Benches
For garages that also park cars, a fold-down bench is a real solution, not a consolation prize. A Murphy-style design folds flat against the wall when not in use, giving back floor space that matters.
The things to verify before buying: weight rating when fully extended (some are only rated for 200 lbs, which sounds like plenty until you’re working on a transmission), stud spacing for your particular wall (24-inch on-center studs require a bench designed for that), and leg support design — single drop-leg, two legs, or bracket-only all behave differently under load. Two legs or hinged bracket legs are noticeably more stable.
The Rockler Rock-Steady Folding Worktop Wall Brackets are a well-regarded option here — mount them to wall studs up to 32″ apart and add your own top up to 24″ deep. Rockler, Worx, and a handful of direct-to-consumer options have all been improving steadily over the past few years.
Built-From-Scratch Workbenches
If you own a drill and a circular saw, you can build a better bench than most of what’s sold at home improvement stores — for around $100–$150 in materials. Full control over height, depth, length, vise placement, pegboard backing, whatever you need.
The classic build uses dimensional lumber: 4×4 or doubled 2×4 corner posts, 2×4 stretchers on all four sides top and bottom, 3/4-inch plywood for the top (doubled to 1.5 inches for a real bench), and a lower shelf from 3/4 plywood. Add hardboard or MDF over the plywood top as a sacrificial surface — when it gets chewed up, replace it for $15.
Use construction screws throughout, not nails, and add pocket screws at the joints. A bench built this way will outlast you.
Do You Need a Vise?
If you do any hand tool woodworking, mechanical work, or anything that requires holding a piece firmly while working on it — yes.
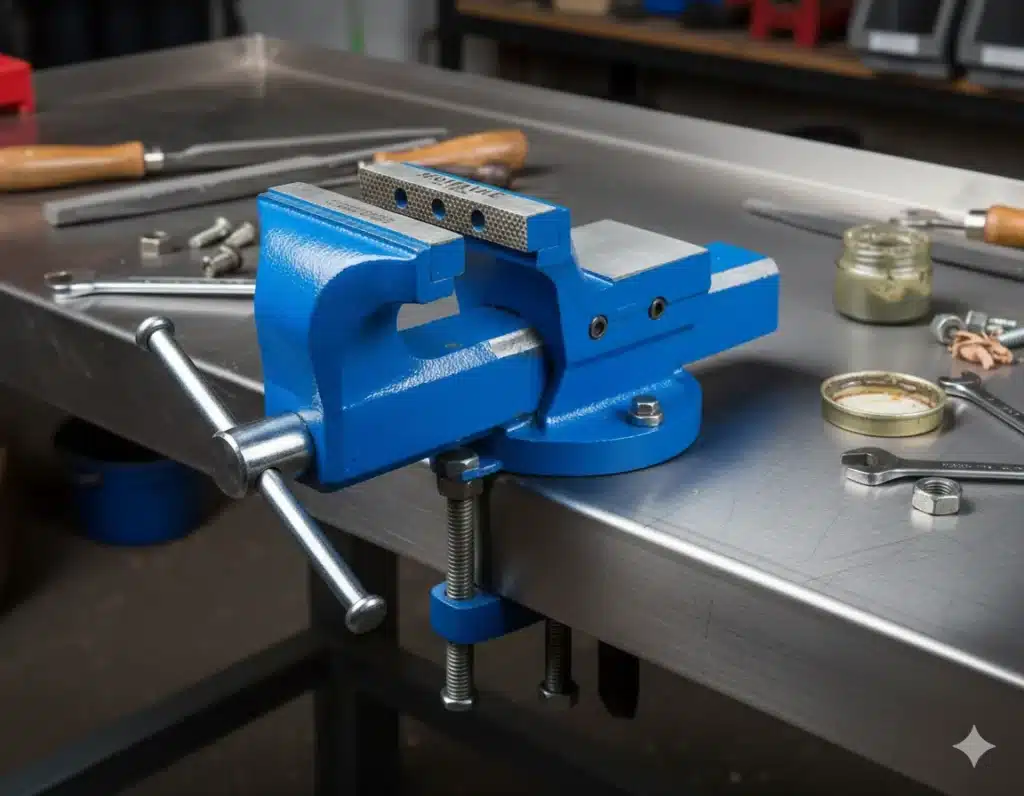
There are a few vise types that come up regularly:
A face vise mounts to the front of the bench and is the most common type for woodworking. Opens wide, holds boards for hand planing, cutting, and joinery. An engineer’s or machinist’s vise bolts to the top of the bench, swivels, and grips metal pipe, bar stock, and odd-shaped pieces. This is what most people picture when they hear “bench vise.” Not the right tool for woodworking, but exactly right for mechanical work.
For a serviceable machinist’s vise for home use, $60–$150 covers you. Don’t go cheaper — the castings on no-name vises crack. Wilton’s 400S machinist vise and the Yost 45C combination vise show up consistently in the conversations of people who actually use vises hard. For a woodworking face vise: $80–$250. Veritas, Groz, and Rockler all make well-regarded options.
One practical note on mounting: the vise is only as solid as how it’s attached. It needs to bolt through the benchtop, not just screw into it from above. Budget benches with thin tops often can’t mount a vise securely enough to be useful.
Storage: What Goes Under, Above, and Beside the Bench
A workbench without planned storage will be buried in clutter inside two weeks. Figure out the storage before you commit to a bench position.
Pegboard on the back wall. The bench and the pegboard wall behind it are natural partners. Your most-used hand tools hang within arm’s reach, nothing gets buried. For a full rundown on which pegboard and wall storage systems are worth the money, our guide to garage wall storage systems covers all of it — slatwall, track systems, and pegboard side by side.
Lower shelf. Every bench should have one. The angle grinder, the RTV tube, the wire brush — things you need but not constantly. A full-length lower shelf at 6 to 8 inches off the ground effectively doubles your storage without adding footprint.
Wall cabinets above the bench. Good for parts boxes, consumables, and anything you don’t want dusty. One catch: overhead cabinets and bench lighting compete for the same wall real estate. Figure out your lighting before you start anchoring things above the bench. Our complete garage lighting guide walks through this.
Roll-under storage. A rolling tool cabinet that parks under the bench when not in use is an efficient setup for smaller garages. Milwaukee PACKOUT, DeWalt ToughSystem, and the Bauer modular line from Harbor Freight all work well in this configuration. We’ve covered the PACKOUT system in depth if that’s the direction you’re looking.
Bench Top Materials
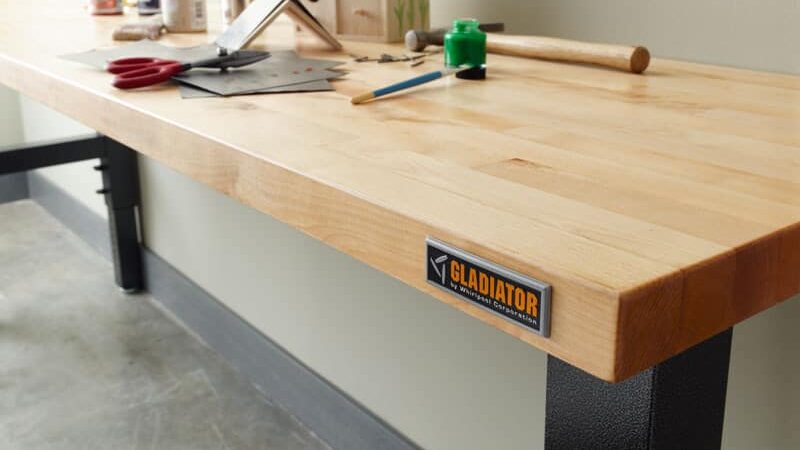
Hardwood (maple or beech): The traditional choice for woodworking benches. Hard, dense, flat, and it takes bench dogs and accessories well. Overkill for a mechanic’s bench. Expensive.
Plywood + hardboard: What most DIY builds use. 3/4-inch plywood as the substrate, 1/4-inch hardboard on top as a sacrificial surface. When the hardboard gets chewed up, swap it for $15. Smart and practical for general-purpose use.
Laminate (phenolic): Smooth, chemical resistant, easy to clean. Good for finishing, painting, and assembly work where you don’t want the bench surface marking the work. Less ideal for hand tool work since it can be slippery.
Steel top: Heavy, durable, completely chemical resistant. If you’re welding, grinding, or working with solvents regularly, worth considering. Hard to retrofit a vise onto.
MDF: Smooth and flat when new, but it absorbs moisture, expands, and degrades when anything wet gets on it regularly. Occasional light use only.
Most people end up with plywood plus hardboard. It’s cheap, replaceable, and handles 90% of what happens in a home garage.
Before You Start Using It
Level the bench. Garage floors slope toward the drain, which means virtually no workbench sits naturally level. Use the leveling feet if you have them, or shim the legs with plastic shims. A level bench keeps things from rolling off and makes flat surfaces actually flat.
Anchor it to the wall if you can. Two L-brackets into studs makes a dramatic difference on a bench you’re pushing hard against — planing, pounding, using a vise. Especially true for lighter steel-frame benches that don’t weigh much themselves.
Install the vise before anything else lands on the bench. Once the bench has stuff on it, flipping the top for through-bolting gets complicated. Vise first.
Run your lighting before the bench is in place. If you’re adding a dedicated work light over the bench — and you should be — run the outlet or conduit before the bench is positioned and before anything goes on the wall above it.
Put down an anti-fatigue mat. If you’re standing at this bench for more than 30 minutes at a stretch, anti-fatigue matting matters more than people expect. The Craftsman 20″×72″ garage mat is purpose-built for exactly this use — 3/4-inch foam, oil-resistant, and long enough to cover the full bench run. Available by the roll or in interlocking tiles too. It’s one of those upgrades that seems like a luxury until you’ve worked a full afternoon on concrete without it.
Safety Notes Worth Covering
Weight ratings assume evenly distributed load. A 1,500 lb rated bench doesn’t mean you can stack 1,500 lbs in one corner. Follow per-support-point guidelines.
Keep flammables off the bench. Cans of mineral spirits, brake cleaner, and paint thinner don’t belong near a grinding area. A small metal flammable storage cabinet is the right fix.
Designate one half of the bench as always-clear working surface and hold that line. The easiest way to turn a great workbench into an expensive cluttered shelf is to leave a permanent project on it.
Specific Benches Worth Looking At in 2026
Under $250 — Husky 52-inch Adjustable Height Solid Wood Top Workbench. The Husky line has been the value benchmark for home garage setups for a while now. The adjustable height is genuinely useful — most people set it once and leave it, but having the option costs nothing. If you’re also looking at Husky storage, their bench line plays nicely with their 52-inch tool chest.
Under $500 — Gladiator 6′ Adjustable Height Hardwood Workbench. All-steel construction, 3,000-lb capacity, solid 1¾-inch hardwood top (not veneer). Genuinely shop-grade despite being available at big-box stores. Works particularly well if you’re pairing it with their modular cabinet system.
Fold-down — Rockler Rock-Steady Folding Worktop Wall Brackets. Well-engineered, the hardware is solid, and the design lets you choose your own top material and size. The narrower configuration is the right call in a single-car garage where floor space is the constraint.
Serious woodworking — Sjobergs Multi-Function Workbench 1060. These get passed down. Solid beech, 55 dog holes in the top alone for versatile clamping, Scandinavian design refined over decades. On the higher end of the price range, but it’s furniture-grade equipment that belongs in the same conversation as your saw and your planes. The Sjobergs Smart Workstation Pro is a more portable entry point from the same brand if you want to try before committing to a full bench.
DIY build. Free plans for the “English Workbench” and Roubo-style benches are all over the internet. Around $120–$200 in dimensional lumber, one weekend, and you’ll have a bench that outperforms most commercial options at twice the price. If you’re at all comfortable with a saw, it’s the highest-value path in this whole category.
How the Bench Fits the Bigger Picture
A workbench doesn’t work in isolation. It’s most useful as part of a thought-out garage layout — the right flooring underneath, the right lighting overhead, storage on the adjacent wall.
If you’re thinking about the full setup rather than just the bench, our Complete Home Garage Tool Setup Guide covers the whole picture. If you’re starting from scratch and working out how to spend a limited budget, the Beginner’s Garage Setup Guide is the right starting point.
One thing worth saying plainly: if your garage has bad flooring, sort that before buying a nice bench. A workbench sitting on cracked, stained concrete is functional but unpleasant to work at. The right garage flooring — epoxy, tiles, or a quality coating — changes the feel of the whole space.
Where This Leaves You
You don’t need a $900 Scandinavian hardwood bench to have a functional workspace. You also don’t need to settle for a table that wobbles every time you use a vise.
A solid steel-frame bench in the $200–$400 range, leveled, anchored to the wall studs, fitted with a decent vise, and backed by pegboard storage, handles what most home garage workers actually do. If you want something better, $150 in lumber and a weekend gets you there.
Decide what you’ll be doing at the bench, how long you’ll stand there, whether you need a vise, and how the bench fits with everything else. Get those decisions right. The shopping part is easy.